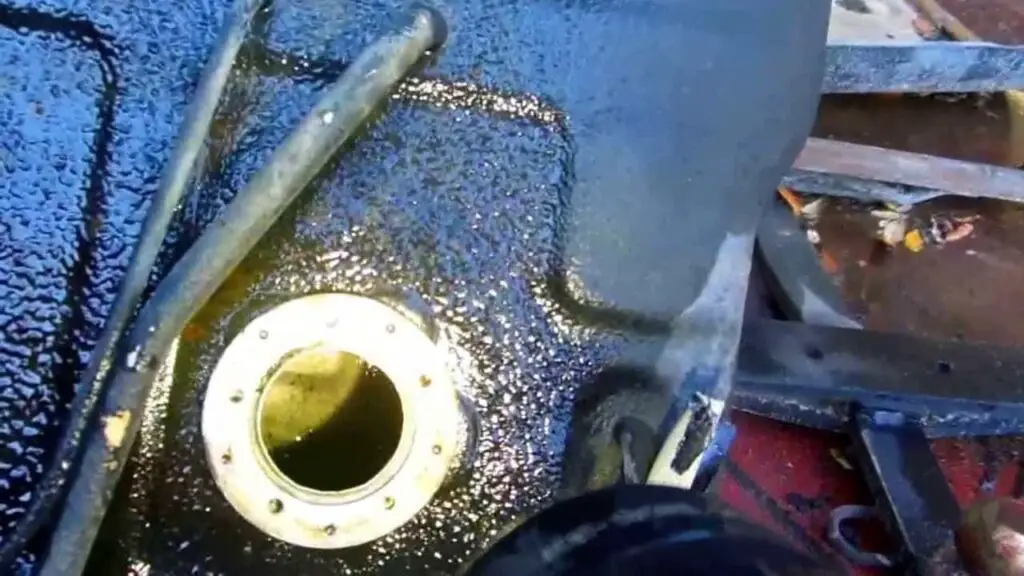
When it comes to maintaining a lawnmower or motorcycle, you must first clean the plastic gas tank. Cleaning a plastic gas tank is a daunting and challenging task for many, especially for those who are new to this.
With a little work and knowledge, you will be able to clean your gas tank. In the end, you will get a tank-free of contaminants and debris that can probably damage your engine.
If you don’t know, you have come to the right place as we will now try to discuss how to clean a plastic gas tank. This article will cover the steps that can be taken to clean a plastic gas tank. If you can follow them, you can surely clean it very quickly. So let’s get started with it.
How to Clean a Plastic Gas Tank Properly-Step by Step
Disconnect the Tank:
At first, disconnect the tank from the motorcycle or other equipment before cleaning. You cannot access it or clean it safely without disconnecting it.
Now you need to unstrap the tank and unscrew the screws or bolts to be fully secured. Also, for lawnmowers and similar items, you need to remove the fuel line and spark plugs. For motorcycles, remove the petcock, gas cap, and all hoses that may be attached to it.
Seal the Fuel Line:
You need to seal the fuel line whenever it is disconnected. If you don’t seal it, then the residual petrol line cannot come out of the lino, resulting in problems for the engine.
Take some kind of smooth-faced clamp to seal and attach it to the line near the carburetor. Now separate the line and the carburetor and allow the line to drain in the bucket.
Empty the Tank:
If there is any fuel left in the tank, pour it out. If you can’t get everything out, use a suction hose or a similar device to remove fuel from the tank. Now allow the tank to dry completely.
You cannot clean the engine properly without drying any residual fuel. So, you need to make sure that you get all the fuel out of the tank.
Observe the Tank:
At this stage, you will now need to monitor the tank. Any defects rust, or other problems can pose a potential safety risk or damage your engine, so you must check.
Leave the tank in open daylight so you can see inside. If you need more light, light a flashlight in the tank.
Pay special attention to rust stains, wear, or defects in the tank’s own components. Be sure to check the fuel filter to make sure it is clean. If it is not, it should be replaced.
Spray High-Pressure Water in the Tank:
We have already reached the last step, and in this step, you have to spray water in the tank. At the same time, do not introduce various chemicals such as soap – which can cause problems for your engine.
Set your hose and sprayer to a high-pressure setting. You need to point the sprocket down at different places in the tank. If you have enough rust in your tank, consider using a pressure washer or blaster.
Safety Issue While Cleaning Plastic Gas Tank
When it comes to maintaining an electronic device, you must also take care of your safety. You need to wear some safety equipment to protect yourself when you are going to clean the plastic gas tank. Here is all the safety equipment:
Gloves
Safety goggles.
Other protective clothing
You also need to make sure that your garage is well ventilated when cleaning.
Final Thoughts:
Cleaning a plastic gas tank is an overwhelming task, but that doesn’t mean it’s impossible. You can easily get the job done if you follow a few simple steps. We have tried to explain in detail in our article how to clean a plastic gas tank. We hope you’ll be able to clear it up by following our steps. Thank you all.
