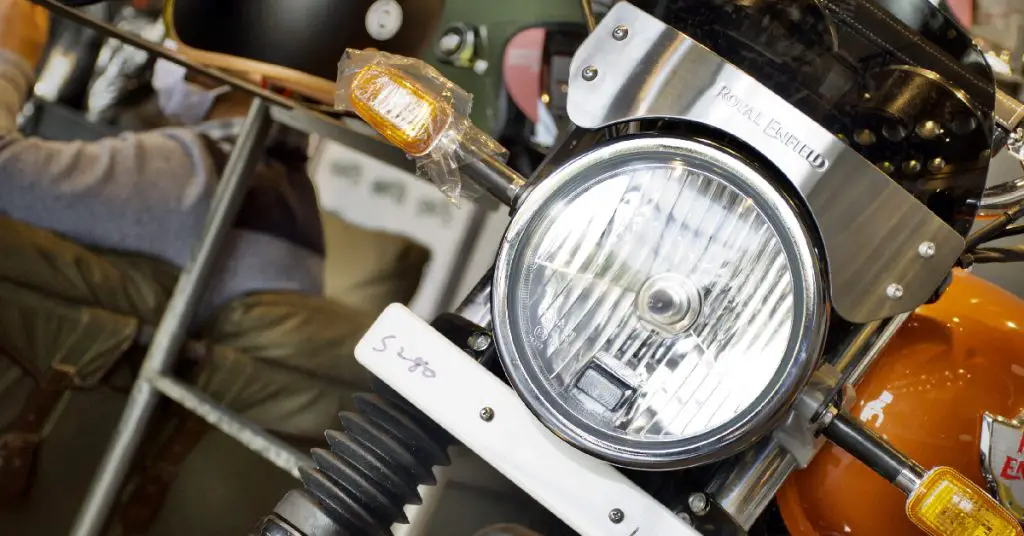
As the sun sets and darkness blankets the horizon, headlights become the unwavering guides that pierce through the night, leading us safely along dimly lit roads. For automotive enthusiasts and DIY aficionados, customizing vehicle lighting is an exciting venture that not only enhances aesthetics but also improves visibility and safety during nighttime drives.
One popular approach for achieving optimal luminance is by wiring headlights directly to the battery, bypassing the stock electrical system and unlocking the full potential of your illumination setup.
In this comprehensive guide, we delve into the art of rewiring headlights, empowering you with the knowledge to transform your vehicle’s lighting system. But remember, tinkering with automotive electricals requires caution and a keen understanding of the process, ensuring both efficacy and safety.
So, join us on this enlightening journey as we explore the steps, tools, and insights required to illuminate your path with precision by wiring headlights directly to the battery. Let’s shed light on this electrifying endeavor and make your driving experience truly shine!
- Gather the necessary tools and materials
- Disconnect the negative terminal of the battery
- Connect one end of the wire to the positive terminal of the battery
- Run the wire to where the headlights will be mounted
- Strip each end of the wires that will connect to the headlights, about 1/2 inch should do it
- twist each exposed wire together clockwise until tight, then use a soldering gun to solder each connection for extra security
- 7Connect each wire to its appropriate headlight terminal (positive to positive, negative to negative)
- 8 Reconnect the negative terminal of your battery
How to Wire Headlights to a Toggle Switch
One of the most common questions we get here at Headlight Revolution is how to wire headlights to a toggle switch. People want to be able to turn their headlights on and off without having to fumble around for the headlight switch on the dash. This is especially true for those who have aftermarket lights that draw a lot of power, as they may want to be able to kill the power to them quickly if needed.
Here’s a quick rundown of what you’ll need to do in order to wire your headlights to a toggle switch.
First, you’ll need some basic supplies. You’ll need a length of electrical wire, some wire terminals, and a toggle switch. You can find all of these items at your local hardware store or online.
Next, you’ll need to remove the headlight housing from your vehicle so that you can access the back of the headlight assembly. Once you have access, locate the wires that power the headlights (these will usually be red or black).
Cut these wires and strip away about ½ inch of insulation from each end. Now take one end of your electrical wire and connect it to one of the stripped ends of the headlight wires using a wire terminal. Then take the other end of your electrical wire and connect it directly to one terminal on your toggle switch.
The final step is connecting the other terminal on your toggle switch directly to one of the remaining stripped ends on your headlight wires using another wire terminal. That’s it!
Credit: dirtbikemoto.com
Do Headlights Need a Relay?
No, headlights do not require a relay. A relay is an electromagnetic switch that is used to turn on and off a circuit. It consists of a coil of wire that is wrapped around an iron core.
When electricity flows through the coil, it creates a magnetic field that activates the switch.
How Do You Rewire a Headlight?
If you’re lucky, your car’s headlights will last the life of the vehicle. But over time, even the best-made headlight can burn out or become damaged. When this happens, you’ll need to know how to rewire a headlight.
The first step is to open up the hood and locate the wires that power the headlights. In most cars, there will be two wires: one for the low beam and one for the high beam. Once you’ve found these wires, use a wire cutter to remove them from their current location.
Next, take some electrical tape and wrap it around the end of each wire. This will ensure that there is no bare metal exposed that could cause a short circuit.
Now it’s time to connect the new wires to the old ones.
You’ll want to splice them together so that they are securely connected. Once you’ve done this, use more electrical tape to wrap around the connection points. This will further protect against any stray sparks or shorts.
Finally, tuck all of the loose wiring away so that it’s not hanging down where it could get caught on something or cause an accident. Close up your car’s hood and test out your new headlights!
How Do You Splice Wires for Headlights?
There are a few different ways that you can splice wires for headlights, but the most common and reliable method is to use wire connectors. Wire connectors are easy to use and they create a strong connection between the two wires that you’re joining.
To use a wire connector, first strip about ½ inch of insulation off of each wire that you’re going to be joining.
Then twist the exposed ends of the wires together until they’re tight.
Once the wires are twisted together, insert them into the wire connector and squeeze it shut. That’s all there is to it!
Why Do Headlights Have 3 Wires?
There are a few reasons why headlights have three wires.
The most common reason is that it provides more light than just two wires would. It also helps to evenly distribute the light so that there are no dark spots.
Additionally, having three wires allows for different colors of light to be used. This can be helpful if you want your headlights to match the color of your car’s paint job.