To fix a broken rear seat release latch, first locate the latch’s release button and remove any debris or obstructions. Then, apply lubricant to the latch mechanism and test the release several times to ensure it functions properly.
If you own a car, a broken rear seat release latch can be an inconvenient nuisance. However, fixing it is relatively simple and doesn’t require professional help. This guide will provide you with some essential knowledge on how to fix a broken rear seat release latch. Whether it’s a faulty mechanism, stuck latch, or a loose cable, we’ve got you covered. With the right tools and some basic knowledge, you’ll be able to fix the latch and enjoy your car’s seating configuration again.
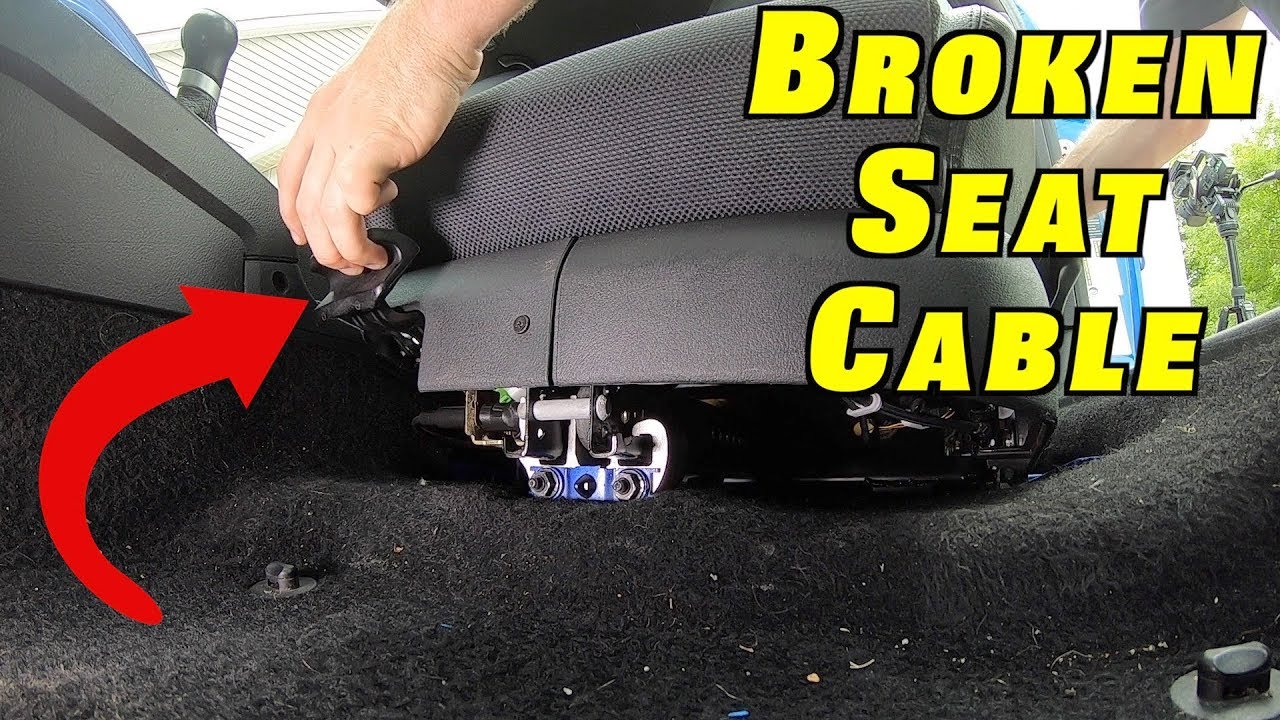
Credit: www.youtube.com
Step 1: Diagnose The Problem
The rear seat release latch of your car can break, causing inconvenience to passengers. Here’s a step-by-step guide on how to fix the problem. Start by doing a visual inspection and checking for any obvious signs of damage. Then, test the release mechanism to see if it’s working.
If it’s not, you may need to replace it. Be sure to follow the manufacturer’s instructions and use the correct tools. With a bit of patience and some know-how, you can fix the broken rear seat release latch in no time.
Step 2: Gather Necessary Tools
In order to fix a broken rear seat release latch in your vehicle you need to have all the necessary tools on hand. Here are the tools you’ll need: a screwdriver, pliers, a socket wrench, and a replacement latch. Using a screwdriver and pliers, remove the old latch and inspect the area for any damage.
If there isn’t any, use a socket wrench to install the new latch, pressing it firmly into place. Once the latch is secure, give it a pull to ensure that it is working properly. This process should take no more than 30 minutes and will save you from having to take your car to the auto repair shop.
How Do You Fix a Broken Rear Seat Latch on a Honda Fit?
Step 3: Repair Or Replace Broken Parts
To repair the latch mechanism, first, remove the covers or panels covering it. Then, inspect the mechanism to see where the issue lies. Check for broken or missing components. If there are any, you can replace them easily. If the mechanism is damaged beyond repair, consider replacing it entirely.
If you need to replace broken latch components, first remove any covers or panels. Inspect the latch to identify the components that need replacing. When ordering replacements, make sure you get the right parts for your specific make and model of vehicle.
With the new components in hand, install them carefully and reassemble the latch mechanism.
Step 4: Test The Latch And Reinstall The Seat
After fixing or replacing the broken seat release latch, you must test its functionality before reinstalling the seat. This step is crucial for ensuring that the new latch is securely installed and operational. Test the latch mechanism by pulling the lever, and ensure it opens and closes accurately.
The latch should release the rear seat effortlessly without any hitches. Once you are satisfied with the latch’s functionality, reinstall it by sliding it back into its bracket until it clicks into place. Then, bolt it tightly using a socket wrench.
Your rear seat is now ready for use, and you can enjoy a more comfortable ride without worrying about broken release latches.
Frequently Asked Questions For How To Fix A Broken Rear Seat Release Latch
Conclusion
Fixing a broken rear seat release latch is a simple process that will save you time and money. The first step is to determine the extent of the damage and the appropriate tools needed for the job. Then, disconnecting the cables, removing the seat, repairing or replacing the broken latch and reassembling the pieces are the crucial steps to fixing a broken rear seat release latch.
By following these steps, you can restore the functionality of your car seats and ensure a comfortable ride. Regular maintenance and proper care will prevent future malfunctions and save you from recurring expenses. With these tips and tricks, you can diy and save money, but it’s always important to consult with a professional if you doubt your abilities.
Now, put your newly acquired skills to use and enjoy your revamped car seats.